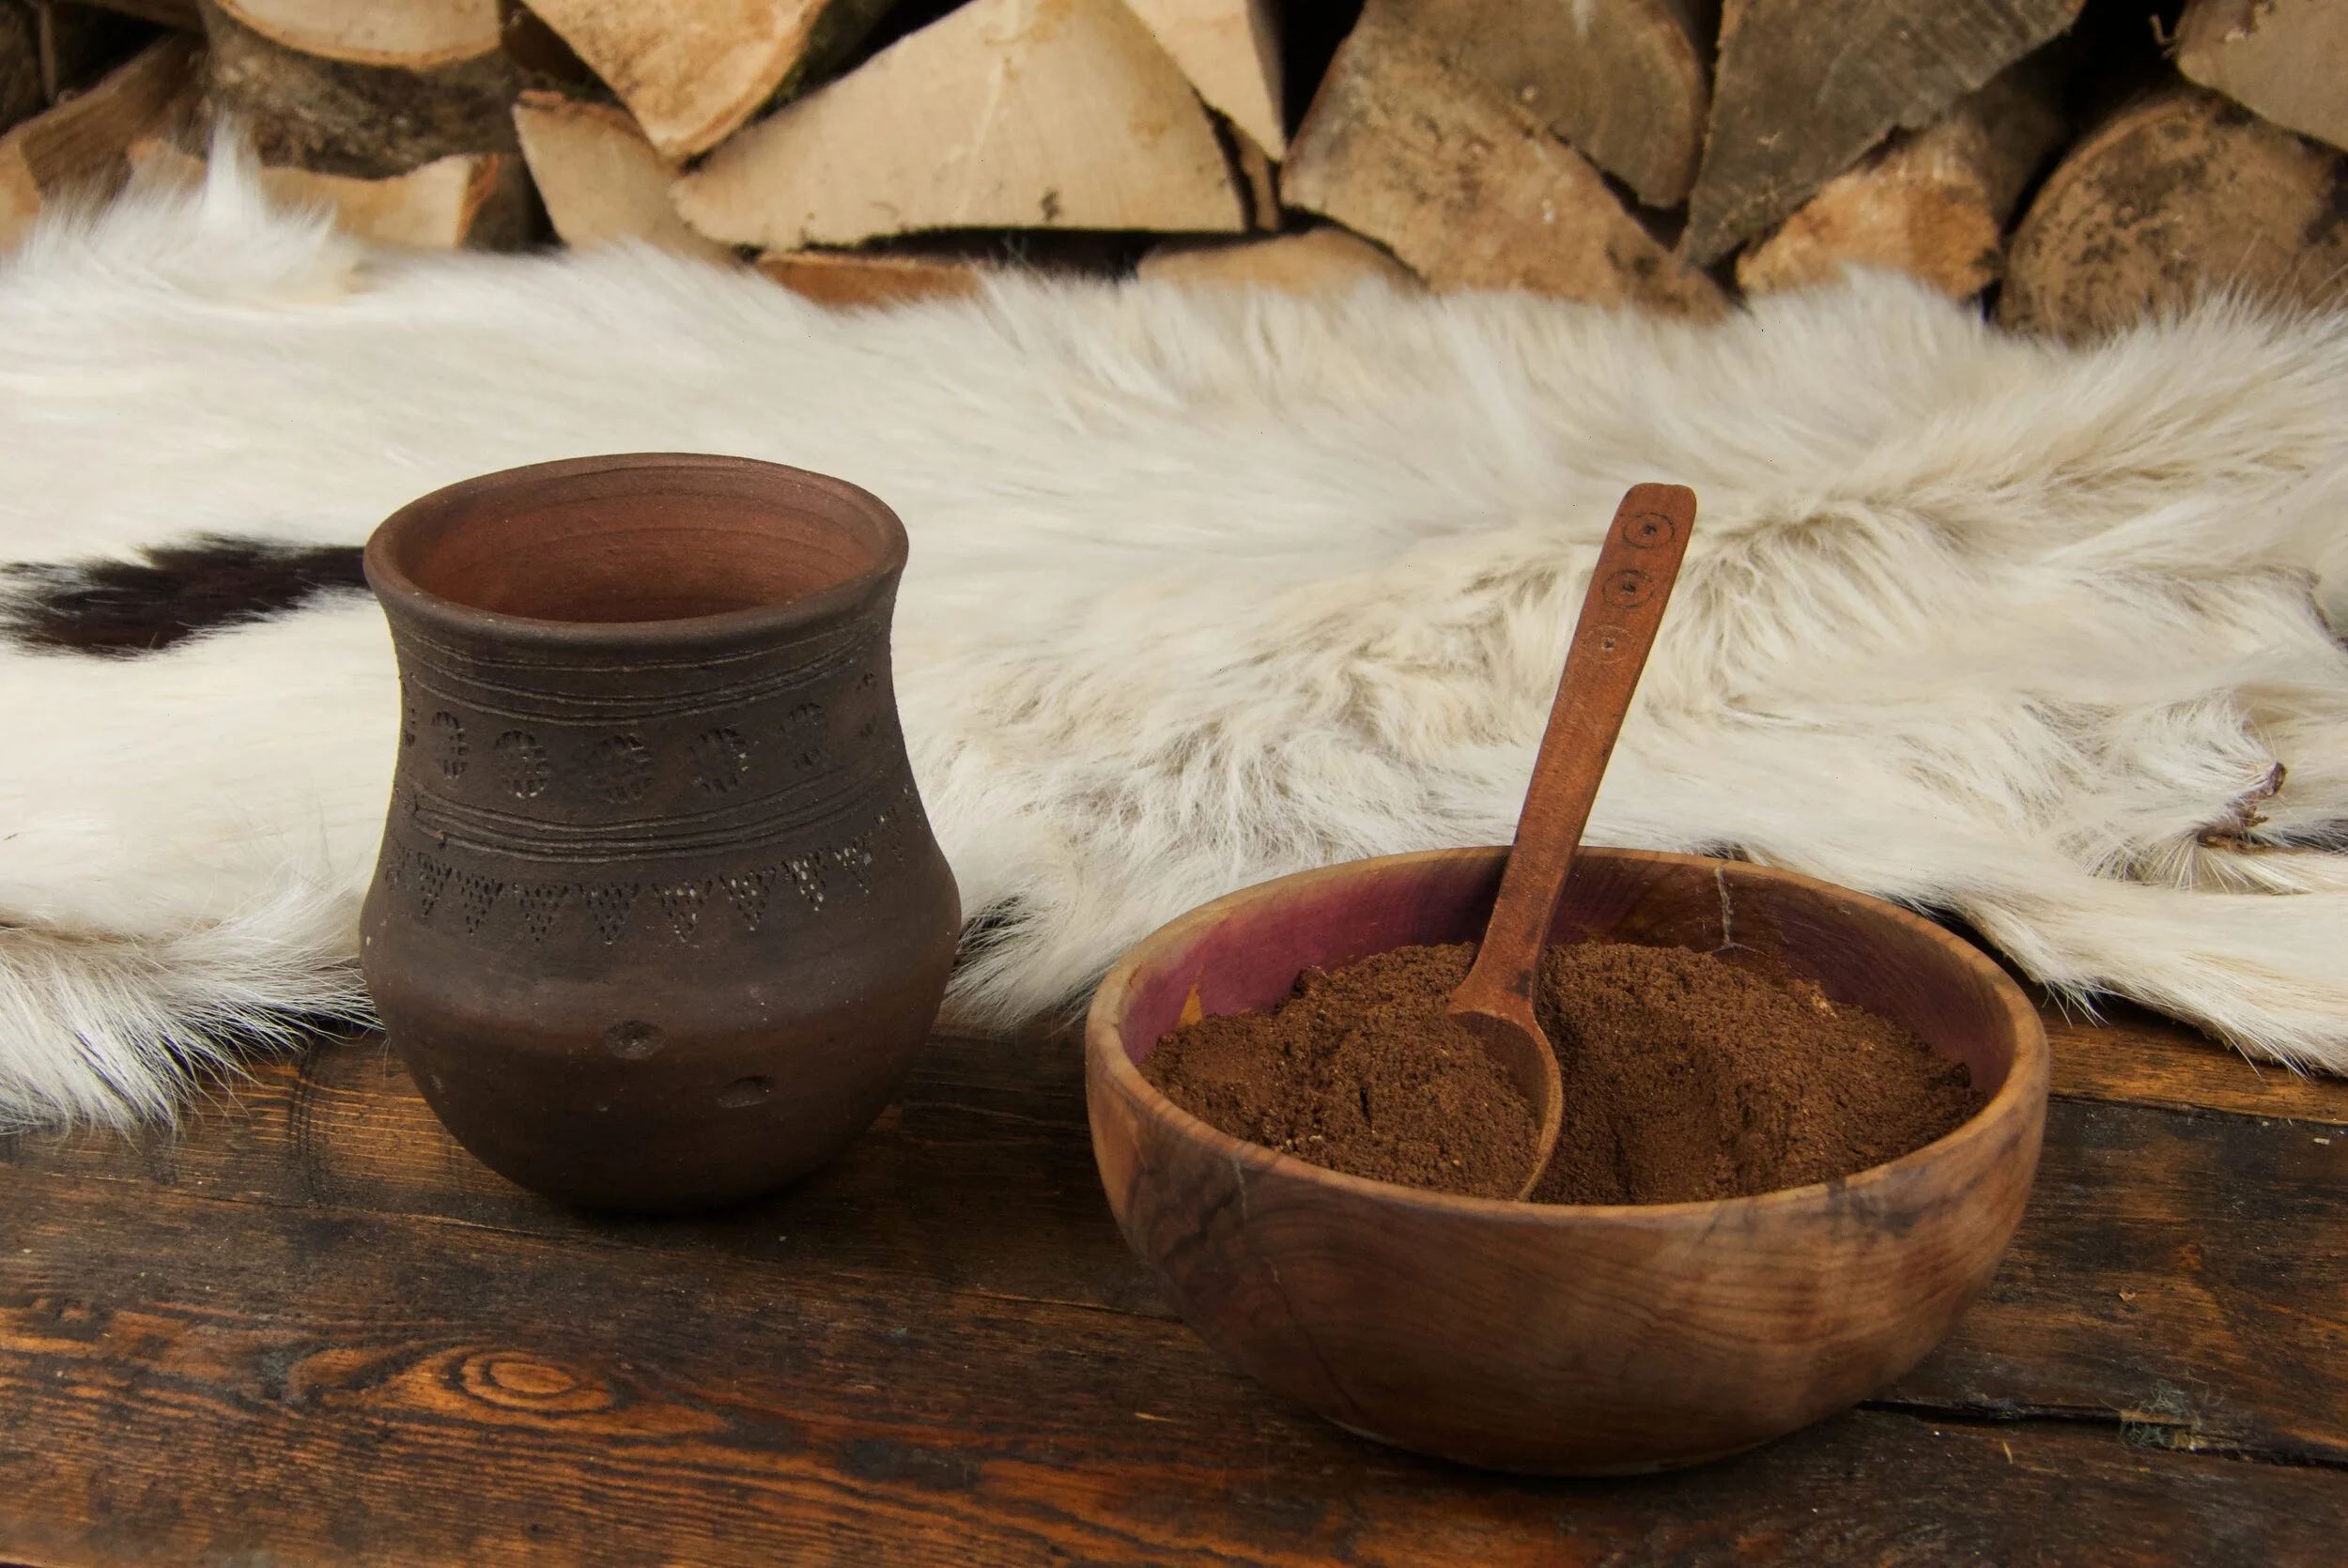
beer

Beer Poached Salmon

Buy Me A Coffee

Ingredients:

  • Tablespoon of butter

  • 1 Onion

  • 1 tsp mustard seeds

  • 250ml/1 cup beer

  • 1/2 a side of Salmon

Method:

Melt the butter in a pan or cauldron. Peel and slice the onion and add to the pan, frying for a few minutes to soften.

Add the mustard seeds and fry for a few seconds, until they start to pop.

Pour the beer into the pan and bring to a boil. 

Meanwhile cut the salmon into chunks, and once the pan is boiling, add the salmon and simmer, uncovered, for around 10 minutes, until the fish is cooked through.

Serve the salmon immediately with a little of the onion broth.


Fennel & Beer Bread

Buy Me A Coffee

Ingredients:

For the starter;

  • 1 cup beer dregs

  • 1 cup flour

For the bread;

  • 800g/4 cups bread flour

  • 2 tsp fennel seeds

  • 2 tsp salt

  • 1 tablespoon honey

  • 550-600ml 1.5-2 cups beer

Method:

To make the starter, mix the beer dregs and flour in a bowl and cover loosely for 24 hours. After this time it should be quite bubbly.

Put the flour, fennel and salt, into a large bowl and mix together.

Add the honey and half a cup of the starter. Slowly add the beer a little at a time, and mix together to form a dough. It needs to be workable, so as not to stick to your hands too much, but too dry and it will fall apart. You can add more or less beer depending on how your dough feels. I find it varies slightly every time.

Tip out onto a work surface and knead for around 5-10 minutes.

Roll your dough into a ball, and dust with a little flour. Put it into a bowl and cover loosely with a damp cloth, to stop it drying out. Leave to prove for at least several hours, but overnight is ideal.

Sourdough takes longer to develop than bread made with shop bought yeast, but benefits from the extra time, as it develops a better flavour. The loaf should increase in size.

Tip your dough back out onto your work surface and carefully deflate it by poking it with your fingers.

Shape your dough into a loaf, and dust with a little flour. Place onto a lightly flour dusted oven tray and prove for another hour.

Heat your oven to 230 degrees Celsius. If you have a Dutch oven put this in your oven to heat as well.

Remove the Dutch oven (if using) and grease the inside with a little butter.

Place your loaf in the centre of the Dutch oven, pop the lid on and put back into the oven to cook for 30 minutes, remove the lid and cook for a further 15 minutes. If you are not using a Dutch oven, cook on an oven tray for 30 minutes and reduce the temperature to 170 degrees Celsius for the last 15 minutes.

Remove from the oven, the loaf should sound hollow when you tap it on the bottom.

Leave to cool fully before cutting.


Blood Pancakes

Buy Me A Coffee

Ingredients:

  • 200g/1 cup rye flour

  • 2 tablespoons Viking blood (although dried pigs blood works well too)

  • 1 egg

  • 250ml/1 cup beer (or other liquid)

  • Pinch of salt

  • Butter

Method:

Whisk together the flour, blood, eggs, beer and salt until smooth.

Melt some butter in a pan and add a ladle full of batter to the pan.

Cook for a minute or 2 on each side, until cooked through.

Serve with berries & honey or bacon


Pumpkin Beer

Pumpkins are for more than just carving. Get ready for the Halloween season with this lovely winter beer. It usually comes out at 4.5 %

Ingredients:

  • 1kg pumpkin

  • 35g hops

  • 500g dark malt extract

  • 375g sugar

  • 12 pints of water

  • Beer yeast (or Young’s super wine yeast extract)

Method:

Cut the pumpkin into fist sized pieces and roast for 20 minutes at 200 degrees Celsius.

Put the pumpkin into a large pan with the hops and cover with 6 pints of water, boil for 30 minutes. Meanwhile put your sugar and malt extract into a fermentation bin. Strain the pumpkin water through a muslin cloth into the fermentation bin. Stir well to dissolve all the sugar and malt extract.

Pour in 6 pints of cold water and stir. Make a note of the gravity, it should be around 1040.

Add your yeast and leave to ferment for 3 weeks. Whilst a lot of recipes state much shorter times I find the beer benefits from this extended time.

Don’t forget to check your final gravity, if you haven’t already and want to know the percentage of alcohol in your brew.

Add a level teaspoon of sugar to each bottle and siphon the beer into the bottles. Cap the bottles (or use swing tops) and place somewhere warm for 2 days before moving to somewhere cool.

The beer should be ready to drink in 2 weeks, 3 is better.

Braggot

Take a look at my older post on the basics of homebrewing if you are new to the subject here

Ingredients:

  • 30g hops

  • 1362g honey

  • 500g amber malt extract

  • 12 pints water

  • 1 teaspoon Wine yeast

Method:
Put the hops into a large pan and cover with 6 pints of water, boil for 30 minutes.

Meanwhile put your honey and malt extract into a large, sterilised bucket or fermentation bin. Strain the hop water through a muslin cloth into the fermentation bin.

Stir well to dissolve all the honey and malt extract. Pour in 6 pints of cold water and stir.

Check your gravity, it should be around 1060. If not you can adjust up or down by adding more honey or water, as necessary. This should give you a braggot around 7.8%.

Add your yeast and leave to ferment for 2 to 3 weeks.

Don’t forget to check your final gravity, if you haven’t already and want to know the percentage of alcohol in your brew.

Sterilise your bottles.

Add a ½ teaspoon of honey to each bottle and siphon the beer into the bottles. Cap the bottles (or use swing tops) and place somewhere warm for 2 days before moving to somewhere cool.The braggot should be ready to drink in 2 weeks, 3 is better.

Taken from my book ‘Eat like a Viking!’ Available on Amazon now

Getting started with homebrew

The first rule of making any kind of brew, is to make sure you sterilise everything. Buckets, bottles, siphons – everything that comes into contact with your brew. You can buy sterilising powder in home-brew shops, Wilko’s or online. Follow the directions on the packet and clean everything thoroughly.

Once clean, rinse the equipment well.

The next thing is to make sure you have a hydrometer. These are cheap to buy and will help you to know when your brew is finished fermenting. It will also enable you to estimate the alcohol content of your finished brew.

• Take a reading before you add your yeast. This is known as the Original gravity or OG

• Take another at the end. This is known as the Final gravity or FG

• Using a simple formula, (OG – FG) x 0.13 = %, you can then figure out the alcohol content of your finished brew

• For example if your original gravity is 1080 and your final gravity is 1000, then using the formula (1080 – 1000) x 0.13 = 10.4% alcohol content

The original gravity of most wines and meads should start at around 1050 – 1100

The original gravity for beer should start at around 1040

The higher the number, the higher the potential alcohol content of your brew, however this is also limited by the type of yeast used.

Your brew will either finish fermenting when the yeast runs out of food (sugar) or when the alcohol content is too high for the yeast to live in.

When your brew stops bubbling, or slows to less than 1 bubble a minute, use the hydrometer to see if your brew is finished fermenting. Move your brew somewhere warm and check the gravity over a period of 3 days and if the reading doesn’t change, fermentation has stopped.

At this stage there are a few optional things you can add to your brew. The first 2 things are fermentation stopper, and campden tablets. These are generally added at the same time to wine, mead and cider, and help to stabilise the alcohol by killing off any yeast that might still be hanging around. They also help to prevent any bacterial growth during the ageing process. Add these as per the packet instructions, usually you’ll need to stir your brew daily for 3 days after adding, which will also help to remove any trapped co2.

The next thing is bentonite. This is a naturally occurring clay that draws particles from the alcohol and settles it to the bottom of your container. This clears the alcohol, so you can siphon your liquid into a new container or bottle to prevent a hazy wine.

Taken from my book ‘Eat like a Viking!’ Available now on Amazon 

Rosemary & Bay Beer

Buy Me A Coffee

Before hops were common in beer brewing, herbs such as rosemary and nettles would have been used.

If you substitute the rosemary and bay for 35g of dried hops you can also make a simple hop beer.

For more authentic brewing, leave out the sugar, as this would not have been available. You could add honey instead, but this will be more like a braggot.

Without sugar the beer will be a lot weaker, maybe 1 or 2 percent, and so will not keep for long. This would have been made frequently and drunk within a few days at most.

Ingredients:

  • 5 rosemary sprigs

  • 10 bay leaves

  • 500g amber malt extract

  • 375g sugar

  • 12 pints of water

  • Beer yeast (or Young’s super wine yeast extract)

Method:

Put the rosemary and bay leaves into a large pan and cover with 6 pints of water, boil for 30 minutes.

Meanwhile put your sugar and malt extract into a fermentation bin. Strain the rosemary and bay water through a muslin cloth into the fermentation bin.

Stir well to dissolve all the sugar and malt extract.

Pour in 6 pints of cold water and stir. Make a note of the gravity, it should be around 1040.

Add your yeast and leave to ferment for 3 weeks. Whilst a lot of recipes state much shorter times I find the beer benefits from this extended time.

Don’t forget to check your final gravity, if you haven’t already and want to know the percentage of alcohol in your brew.

Add a level teaspoon of sugar to each beer bottle and siphon the beer into the bottles. Cap the bottles (or use swing tops) and place somewhere warm for 2 days before moving to somewhere cool.

The beer should be ready to drink in 2 weeks, 3 is better.